Help Center

Quick Answer
What a Scuff Actually Is: Rubber transferred onto the surface, not damage to it. That is why gentle methods usually work.
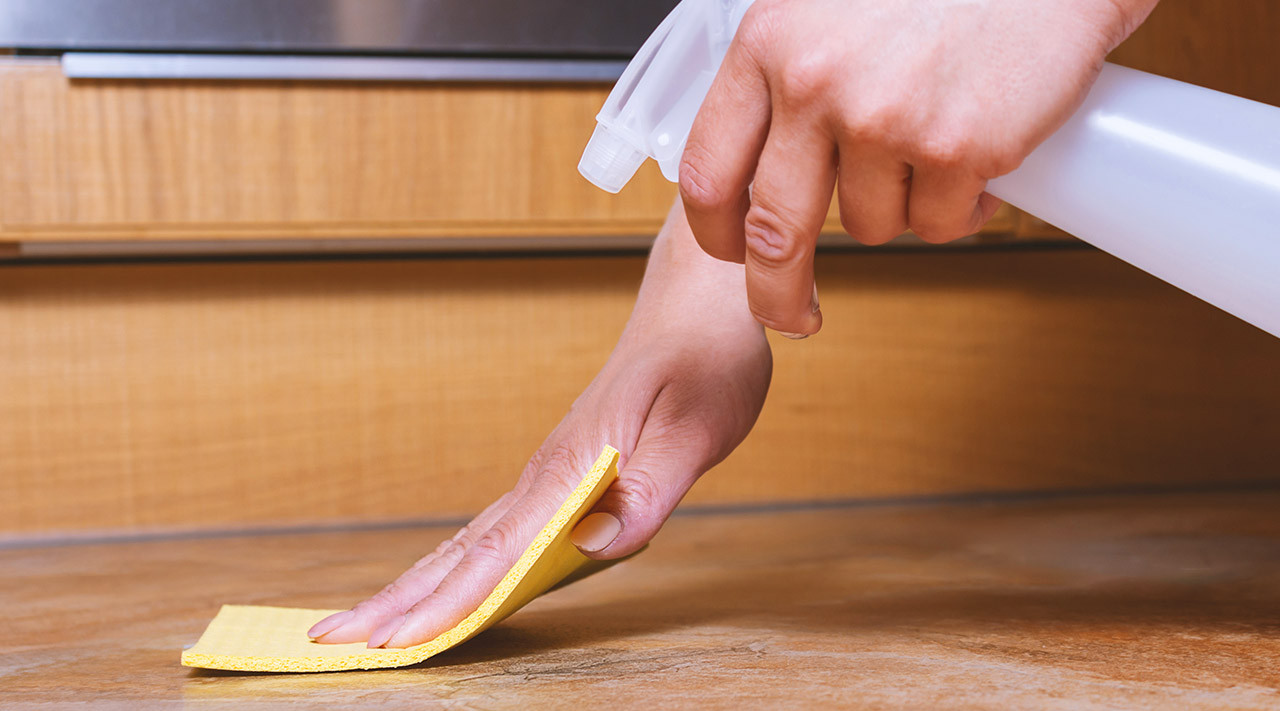
Start Here on Any Floor: A damp microfiber cloth and a pH-neutral cleaner, rubbed in small circles.
Escalate Slowly: Move up the ladder only when the gentler step fails. Every step up costs you finish.
Know Your Floor First: Melamine pads and floor pads are fine on commercial acrylic finish. On hardwood or laminate they can strip it.
Never: Vinegar, ammonia, black or brown pads, or a wet mop on wood and laminate.
Scuff marks show up fast on any hard floor — black heel marks, grey wheel streaks, drag marks from furniture. The good news is that most of them are rubber transfer sitting on top of the finish rather than damage to the floor, so they come off with far less effort than people expect.
The mistake that costs money is reaching straight for the most aggressive method. This guide covers the escalation ladder that works on any floor, then the surface-specific rules for acrylic-finished commercial floors, hardwood, and laminate — because what safely removes a scuff from one will ruin another.
How to Remove Scuff Marks
Work up a ladder from gentlest to most aggressive, and stop the moment the mark lifts. Start with a dry microfiber cloth, move to damp microfiber with a pH-neutral cleaner, then to a soft eraser, and only then to anything abrasive.
| Step | Method | Use It For | Safe On |
|---|---|---|---|
| 1 | Dry microfiber cloth, buffed briskly | Fresh, light rubber transfer | Every floor type |
| 2 | Damp microfiber with pH-neutral cleaner, small circles | Most scuffs. This clears the majority | Every floor type |
| 3 | Pencil eraser or clean tennis ball on a broom handle | Isolated heel marks in small areas | Every floor type — test first |
| 4 | White or red floor pad, low speed | Stubborn marks across a wider area | Acrylic-finished floors only |
| 5 | Melamine pad, used wet and sparingly | Set-in black marks that survive step 4 | Acrylic-finished floors only |
| 6 | Auto-scrubber with red pad and neutral cleaner | Large commercial areas at volume | Acrylic-finished floors only |
Always test in an inconspicuous spot first. Results vary by finish age, product, and how long the mark has been there. Two minutes of testing is cheaper than a dulled patch in the middle of a lobby.
Know Your Floor First: What Is Safe on What
This is the section that prevents expensive mistakes. Steps 4 through 6 above are standard practice on commercial acrylic finish and will damage hardwood or laminate. The methods are not interchangeable, even though the mark looks identical.
| Floor Type | Safe Methods | Never Use | Why |
|---|---|---|---|
| Acrylic-Finished (VCT, Sealed Commercial) | Steps 1–6. Neutral cleaner, white/red pads, melamine, auto-scrubber, burnishing | Black or brown pads; anything acidic or alkaline | The finish is a sacrificial layer designed to be scrubbed and recoated |
| Hardwood (Sealed) | Steps 1–3 only. Dry buff, damp microfiber, pencil eraser | Melamine pads, floor pads, wet mops, steam, vinegar, ammonia | Abrasives remove the finish; water penetrates seams and swells the wood |
| Laminate | Steps 1–3 only. Damp, never wet | Melamine pads, floor pads, wet mops, steam, wax or polish | The wear layer is thin and cannot be refinished; the core swells irreversibly if water gets in |
| Luxury Vinyl (LVT/LVP) | Steps 1–3, plus a white pad with caution | Melamine pads, aggressive pads, solvent cleaners | The wear layer is durable but thin and cannot be replaced |
| Rubber Gym Flooring | Rubber-specific neutral cleaner and a soft brush | Solvents, degreasers, melamine | Solvents degrade and discolour rubber over time |
The rule of thumb: if the floor has a sacrificial finish that gets recoated, you can be aggressive. If the surface you can see is the surface you have forever — hardwood, laminate, LVT — stop at step three.
Removing Black Heel Marks from Acrylic-Finished Floors
Acrylic finishes create a hard, glossy surface that reflects light beautifully when clean — and shows every mark because of it. Black heel marks from rubber soles, grey streaks from equipment wheels, and drag marks all stand out against the gloss.
The advantage is that the finish is a sacrificial layer. It exists to take the wear and be renewed, which means you can use the full escalation ladder without touching the substrate.
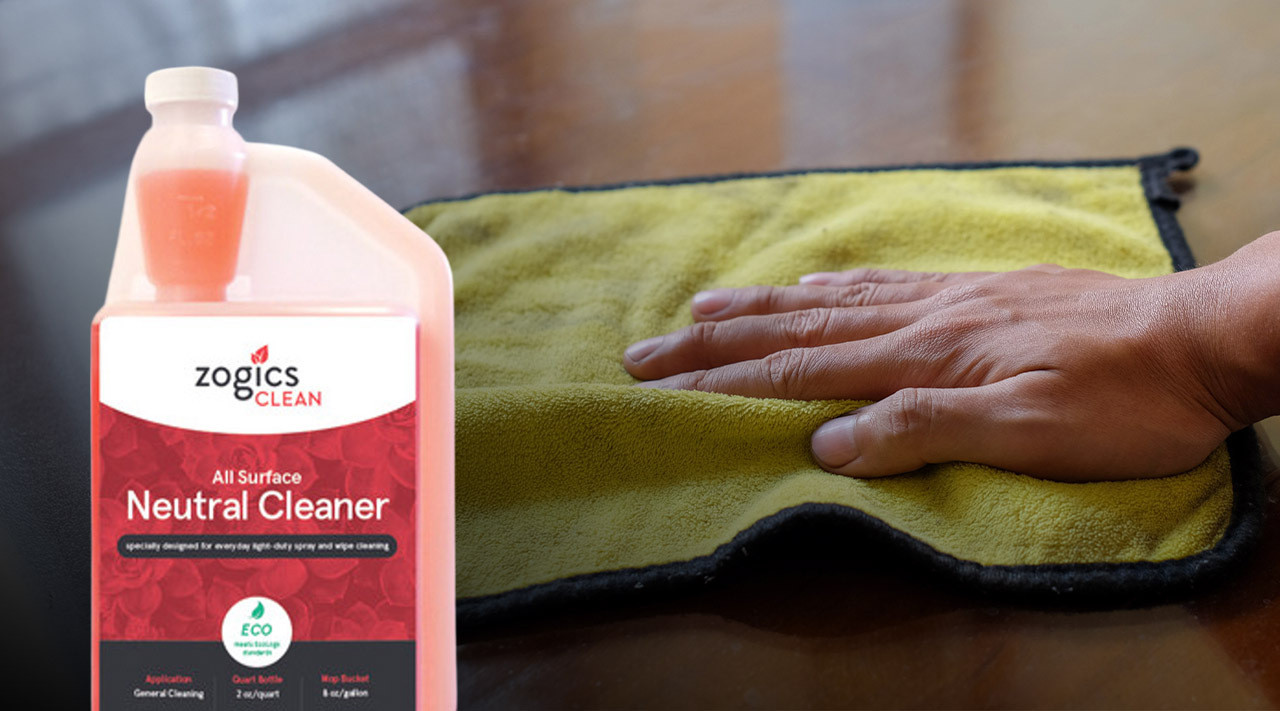
- Microfiber and neutral cleaner. Dampen a microfiber cloth with a neutral pH floor cleaner and rub in small circles. This clears most fresh rubber transfer.
- Tennis ball on a broom handle. Attach a clean tennis ball to a broom handle and rub gently. Good for isolated heel marks without getting on your knees.
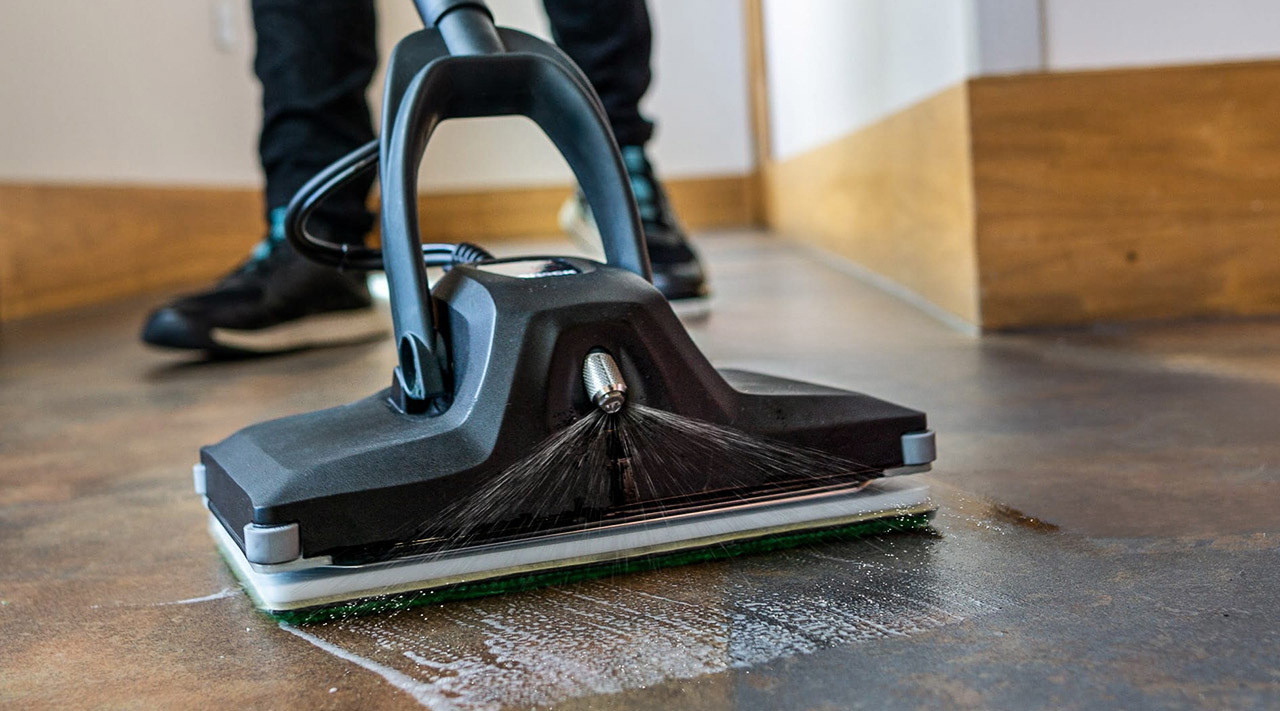
- White or red pads at low speed. Use white or red pads with your floor machine. These clean without stripping. Never black or brown — those are for stripping only.
- Melamine pads, wet and sparingly. Excellent on stubborn black scuffs. Overuse reduces gloss, so burnish afterward if your programme includes it.
- Auto-scrubber with a red pad. For large areas, run an automatic scrubber with neutral cleaner. Follow your machine and finish manufacturer's guidance.
Scuff Marks on Hardwood Floors
On hardwood, stop at a damp microfiber cloth or a pencil eraser. Do not use melamine pads, floor pads, or a wet mop — abrasives take the finish off, and water works into the seams and swells the boards.
The National Wood Flooring Association's maintenance guidance is direct on this: routine cleaning means "sweeping, dust mopping, or vacuuming using the bare floor setting," spills should be cleaned "immediately with a dry or slightly damp cloth," and you should not "use wet mops or steam mops, which will damage the finish and the wood over long periods of time." NWFA also recommends using a cleaner made specifically for the finish on your floor.
The method for hardwood scuffs:
- Buff the mark briskly with a dry microfiber cloth first. A surprising share of heel marks come off with nothing else.
- If it persists, dampen the cloth very lightly with a wood-floor-safe neutral cleaner and work in small circles.
- For a stubborn isolated mark, try a clean pencil eraser. It is mildly abrasive but far gentler than melamine.
- Dry the area immediately afterward. Never leave moisture sitting on wood.
What not to do on hardwood: melamine or "magic" erasers can take the finish off entirely, vinegar's acidity dulls the finish, and steam drives moisture into the wood. If a mark will not come out with the steps above, the finish is likely worn at that spot and the answer is refinishing, not a harder scrub.
How to Get Scuffs Out of Laminate Flooring
Laminate is the least forgiving of the three, because its wear layer is thin and cannot be refinished. Once you go through it, the only fix is replacing planks. Use a damp microfiber cloth and a pH-neutral cleaner, and nothing more abrasive.
- Dry buff first with microfiber. Laminate's smooth surface releases rubber transfer readily.
- Damp, not wet. Wring the cloth until it is barely moist. Standing water at the seams swells the fibreboard core, and that damage is permanent.
- Pencil eraser for isolated marks. Gentle, controlled, and easy to stop.
- Dry the area straight away.
What not to do on laminate: no melamine pads, no floor machines, no steam mops, and no wax or polish — laminate is not designed to be coated, and polish leaves a haze that cannot be stripped without damaging the wear layer. Check your manufacturer's care instructions, since warranties often specify approved cleaners.
Choosing the Right Floor Pad
Pad colour indicates aggressiveness, and the convention is consistent across manufacturers. Going one shade too dark is the most common way facilities damage a finish they were trying to clean.
| Pad Colour | What It Does | Use For |
|---|---|---|
| White / Tan | Polishing and very light cleaning | Buffing, light scuffs, finishing after spot treatment |
| Red | Light cleaning and light scuff removal | Routine scrubbing and spray-buffing |
| Green / Blue | Heavy-duty cleaning | Deep scrubs. Use cautiously — it will cut into finish |
| Black / Brown | Stripping | Full finish removal only. Never for routine scuff work |
Browse the full range of floor cleaning pads.
Neutral Cleaner Requirements
Use pH-neutral cleaners in the pH 6–8 range, formulated for finished floors. Professional floor cleaners at the correct dilution prevent the residue buildup that attracts soil and makes scuffs more visible.
Follow the dilution rate exactly. Over-concentration is the most common self-inflicted problem in floor care — it leaves a film that dulls the floor and makes every subsequent mark show up faster. More product is not more clean.
Burnish vs Scrub-and-Recoat: When to Use Each
| Approach | What It Does | Use When | Frequency |
|---|---|---|---|
| Burnishing | High-speed buffing removes light scuffs and restores gloss | Marks are light and the finish is otherwise intact | 2–4 times monthly in a polish programme |
| Scrub-and-Recoat | Removes the top finish layer and applies fresh coats, without full stripping | Burnishing no longer restores gloss and scuffs survive neutral cleaning | By condition, not calendar. Inspect quarterly |
Burnish only clean, dry floors. Burnishing over dust grinds grit into the finish and creates the micro-scratches that make the next round of scuffs stick harder.
Preventing Scuffs Before They Happen
Prevention is cheaper than removal by a wide margin, and it comes down to three things: catch soil at the door, remove grit daily, and dilute correctly.
| Measure | What to Do | Why It Works |
|---|---|---|
| Entrance Matting | 12–15 feet at each entrance, combining scraper and wiper mats | Captures the great majority of tracked soil before it reaches the floor |
| Daily Dust Mopping | Once daily minimum, twice in heavy traffic, with a quality dust mop head | Grit underfoot acts like sandpaper and creates the micro-scratches scuffs cling to |
| Correct Dilution | Mix to label rate with clean mops and equipment | Residue from over-concentration attracts soil and makes marks show faster |
| Mat Maintenance | Clean or swap mats on a schedule | A saturated mat becomes a source of soil rather than a barrier |
| Staff Training | Pad selection, dilution rates, testing in a hidden spot, when to escalate | Most finish damage is a trained-behaviour problem, not an equipment problem |
When Scuffs Will Not Budge
Before reaching for a stripper, there are two intermediate steps that solve most persistent marks on acrylic finish.
- Spot treat with a finish restorer. Apply a rejuvenator to the affected area, let it dwell per the label, then buff with a white pad. This re-levels the top film and hides micro-abrasion.
- Neutral cleaner at maximum label strength. Still pH-neutral, but at the top of the dilution range. Dwell three to five minutes, scrub with a red pad, rinse thoroughly, dry completely.
If marks survive both, the finish is worn through at that point. That is a scrub-and-recoat job for the area, not a harder scrub — and continuing to attack it will only thin the finish further.
Tools You Will Need
Essential kit, any floor type:
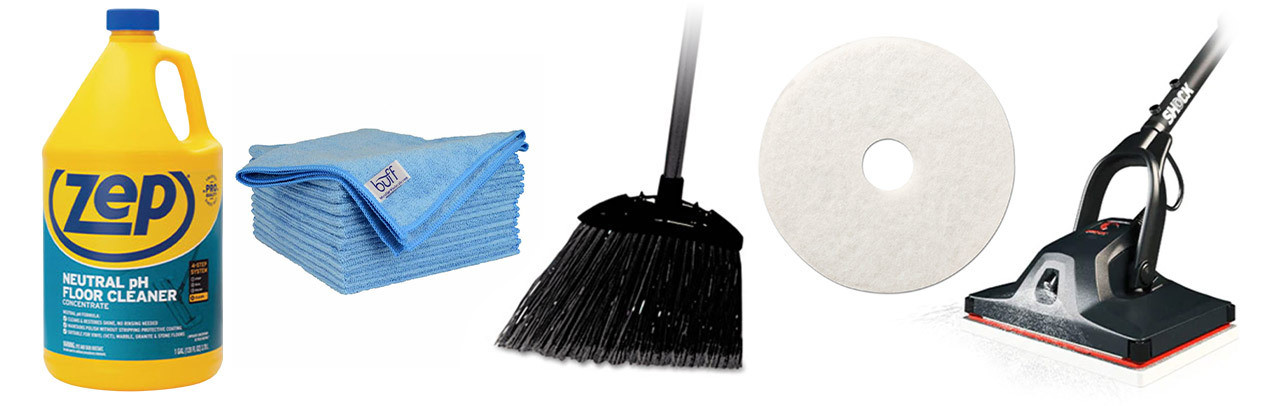
- pH-neutral floor cleaner appropriate to your surface
- Microfiber cloths and mops
- A clean tennis ball and broom handle, or a pencil eraser
Additional, for acrylic-finished commercial floors:
- White and red floor pads
- Melamine pads, used sparingly
- Auto-scrubber and, for polish programmes, a high-speed burnisher
Your Maintenance Schedule
| Frequency | Tasks |
|---|---|
| Daily | Dust mop all traffic areas, twice where traffic is heavy. Spot clean scuffs with microfiber and neutral cleaner. Damp mop entries and transition zones |
| Weekly | Auto-scrub or thorough manual mop with neutral cleaner. Address accumulated scuffs before they set. Check mat condition |
| Monthly | Burnish if your programme includes it. Evaluate high-traffic areas for wear. Spot-treat persistent scuff zones |
| Quarterly | Inspect overall floor condition. Decide whether a scrub-and-recoat is needed. Adjust frequency to actual appearance |
Professional Results Without Harsh Chemicals
Removing scuff marks rarely requires stripping. Match the method to the surface, start at the gentlest step, and stop the moment the mark lifts.
Consistency beats intensity. Daily dust mopping, prompt spot treatment, and correct dilution prevent far more marks than any aggressive method removes — and they cost less in both labour and finish life.
Explore floor and carpet care, floor pads, and cleaning supplies, or see our guide to matching floor cleaner pH to your flooring type.