Help Center

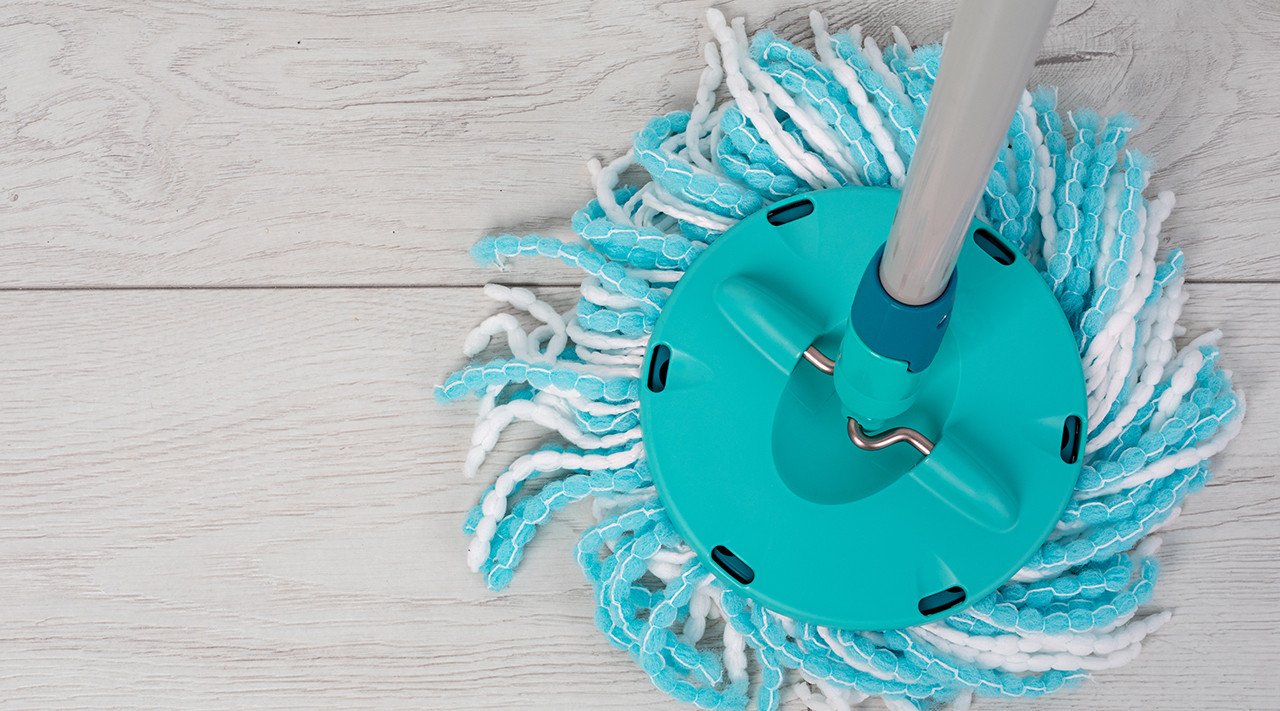
Keeping your facility clean starts with well-maintained tools. Over time, mop heads collect dirt and debris, making them less effective. Knowing how to change a mop head correctly ensures your floors stay spotless and sanitary.
In this guide, we’ll walk you through simple steps for mop head removal and commercial mop head replacement, plus tips to help you choose the right mop head refill for your cleaning routine.
Why It's Important to Change a Mop Head
Regularly changing the mop head is needed for several reasons:
- Hygiene: Prevents the buildup of bacteria and mold.
- Efficiency: Ensures the mop can absorb water and clean surfaces effectively.
- Durability: Prolongs the life of the mop handle and overall equipment.
Materials Needed
Before starting, gather all the necessary materials:
• New commercial mop head
• Gloves (for hygiene)
• Screwdriver (if needed for your mop type)
Types of Mop Heads
Commercial mop heads come in various types, including:
• Cut-end mop heads: Economical but tend to fray.
• Loop-end mop heads: More durable and less likely to unravel.
• Microfiber mop heads: Highly effective in trapping dirt and bacteria.

Step-by-Step Guide to Changing a Commercial Mop Head
When it comes to keeping your facility spotless, changing a mop head regularly is key. Whether you manage a janitorial team or handle day-to-day maintenance yourself, knowing the easiest way to replace a mop head ensures better cleaning results and longer-lasting equipment. Follow these simple steps for quick and hygienic mop head removal and mop head replacement.
To make your cleaning process even more efficient, consider organizing your supplies with a janitorial cart for easy access to tools and replacements.
Step 1: Remove the Old Mop Head
- Inspect the Mop: Check if the mop head is held by a screw, clamp, or clip mechanism.
- Wear Gloves: For hygiene purposes, always wear gloves when handling the used mop head.
- Release the Mechanism: If it’s a screw mechanism, use a screwdriver to loosen it. For clip or clamp systems, press the release button or lever.
- Detach the Mop Head: Carefully remove the old mop head from the handle.
Step 2: Attach the New Mop Head
- Align the New Mop Head: Ensure the new mop head is correctly aligned with the handle’s attachment mechanism.
- Secure the Mop Head: Tighten the screw, clamp, or clip to secure the new mop head in place.
- Check for Stability: Make sure the mop head is firmly attached and doesn’t wobble.
Step 3: Test the New Mop Head
- Wet the Mop Head: Dip the mop head in water to ensure it absorbs correctly.
- Perform a Test Clean: Mop a small area to check if the new mop head is cleaning effectively and remains secure.

Tips for Maintaining Your Mop
• Rinse After Use: Always rinse the mop head thoroughly after each use to remove dirt and chemicals.
• Dry Properly: Allow the mop head to dry completely to prevent mold and bacteria growth.
• Regular Inspection: Check the mop head regularly for signs of wear and replace it when necessary.
How to Replace a Mop Head
-
Prepare Your Supplies
Gather your mop handle, new mop head refill, and cleaning gloves to keep the process hygienic.
-
Inspect the Old Mop Head
Check for frayed strands, discoloration, or odor—signs that it’s time for mop head replacement.
-
Remove the Used Mop Head
Unscrew, unclip, or release the mop head depending on your mop type. Follow manufacturer guidelines for safe mop head removal.
-
Clean the Mop Handle
Before installing the new head, wipe down the handle with disinfectant to prevent bacteria transfer.
-
Attach the New Mop Head
Align and secure the new commercial mop head tightly to the connector—make sure it locks firmly in place.
-
Test for Stability
Give the mop a gentle shake or press to confirm the head is secure and won’t detach during cleaning.
-
Store Properly
After use, rinse and hang the mop to dry completely. This extends the life of your new mop head refill and keeps it ready for the next job.